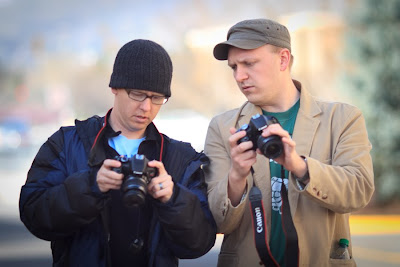
Thanks to everyone who came to the photo walk. We had a lot of fun -- spent about 1.5 hours just walking from the Tanner Building to the Maeser Building. We went over a bunch of photo principles including an over-exposure technique (example below). I'm proud of everyone for shooting in Manual mode -- you're all growing up so fast. Enjoy the gallery!
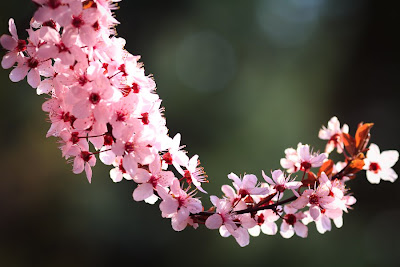
Over-exposed style
Here's an example of one of my flower shots. My first objective is to get a branch that's in the light. Then frame my picture so that there's an attractive composition, then slightly adjust my position so that the background is nice and clean (no power lines, ugly building, half sky-half street, etc.).
You can see from the 2 photos that are similar that one is sharper (more in focus)than the other. That's because I shot the sharper one at f4 and the blurrier one at f2.0. The one shot at f2.0 has a shallower depth of field, so more of the photo is out of focus, creating a single point of focus on the end of the branch.
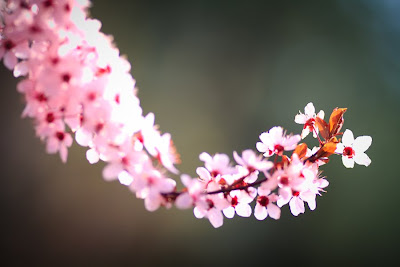
Focus
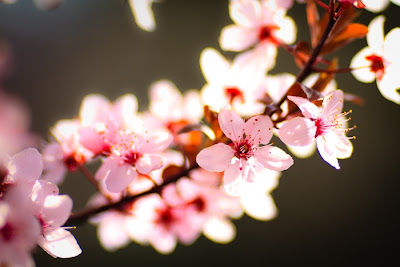
This is just a close up. I'll focus my camera as far as it will go then get as cola as I can with my focus maxed out. That allows me to get as close as physically possible and still be in focus.

Shooting in the shadows
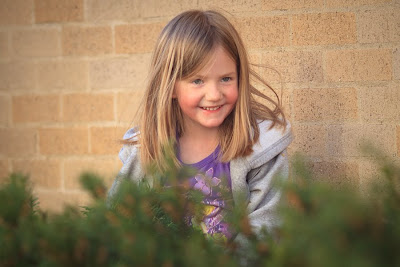
Here's an example of photographing in the shadows. There is still some flattering light from a huge building reflecting a large area of light from the late afternoon sun. So the light on Hailey here isn't very flat.

Depth of Field - Explained
Can you see the difference between these 5 shots? Look at the backgrounds. See how they get progressively more out of focus? I started shooting at f2.0 (the really out of focus background) then went to f2.8, then f4.0, then f5.6, then f8. I adjusted my shutter speed proportionately to keep the same exposure. This is why I love shooting wide open (the biggest aperture possible on my lens) when photographing people because it just isolates the person from the background. These kind of lenses can be pricey, but well worth it. By the way, I did not crop these. I stayed in the same position and only adjusted my shutter speed and aperture.
Telephoto


